English
 中文简体
中文简体
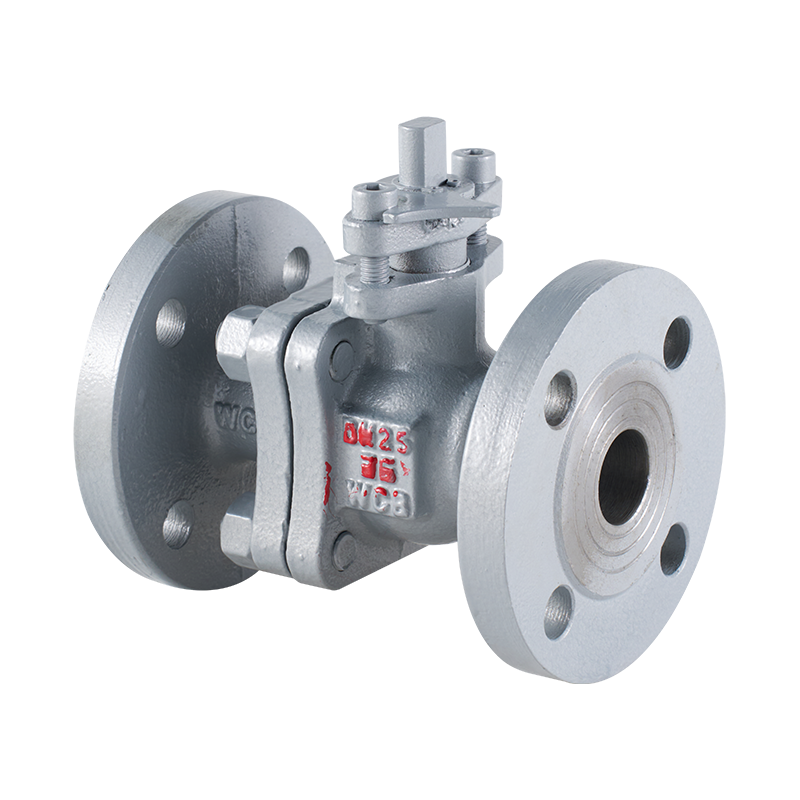
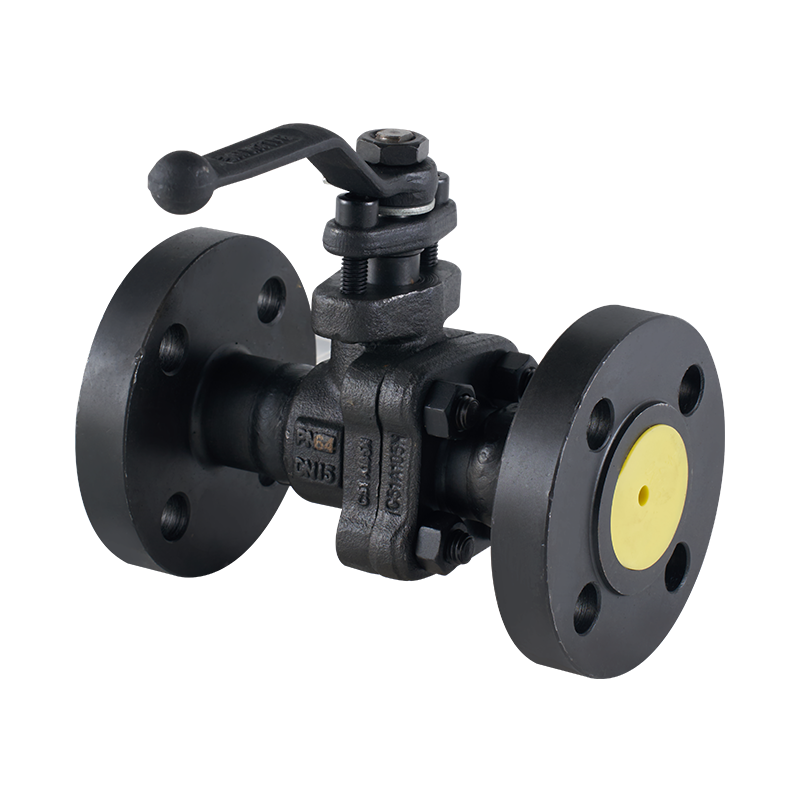
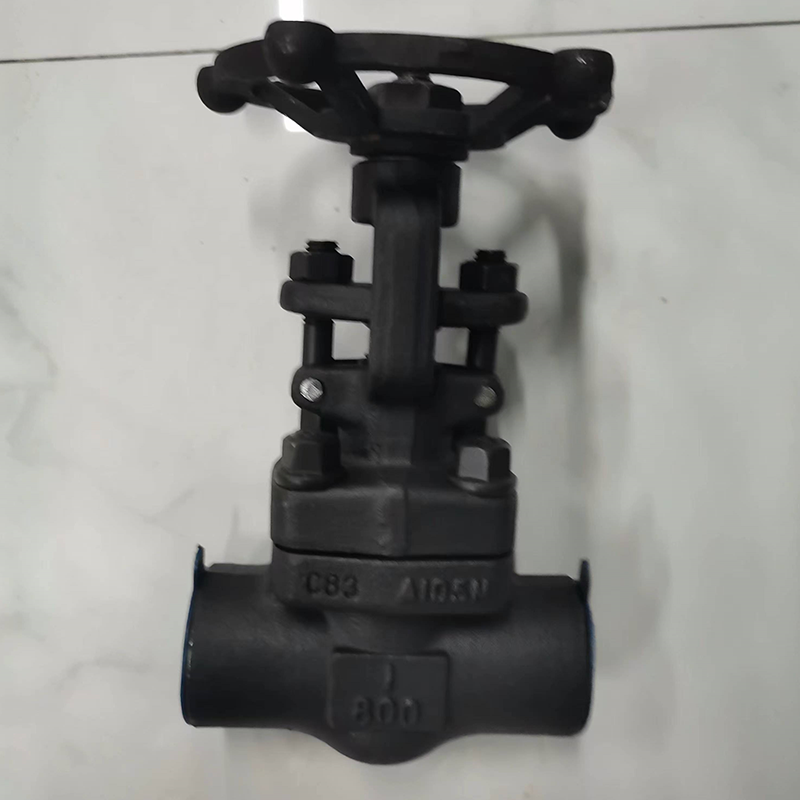
The Stainless Steel Globe Valve is a type of valve widely used in applications that require precise throttling of fluid flow. Its design allows for adjustable flow control through the use of a movable disc or plug that sits against a seat. However, over time, wear and tear from corrosion, erosion, or damage from high pressures and temperatures can impair its functionality. When this happens, replacing the valve is necessary to ensure the smooth operation of the system.
Step 1: Turn Off the System and Isolate the Valve
Before beginning the replacement process, it is essential to safely shut off the fluid system and ensure there is no pressure or fluid flow. This can involve shutting down the pump, closing the isolating valves, and ensuring that there is no fluid in the pipeline where the globe valve is located. In some systems, draining the lines might also be required.
Step 2: Remove the Old Valve
After isolating the system, the next step is to remove the old Stainless Steel Globe Valve. Depending on how the valve is connected (flanged, threaded, or welded), use appropriate tools to disconnect the valve from the pipeline. For flanged connections, remove the bolts and lift the valve out. For threaded or welded connections, use a wrench or cutting tools, if necessary, to free the valve from the pipeline.
Step 3: Inspect the Pipe Connections
Once the old valve is removed, inspect the pipe connections for any signs of corrosion, wear, or damage. Replace any gaskets, seals, or threaded components that may have been compromised to ensure a secure, leak-free installation of the new valve.
Step 4: Install the New Valve
Before installing the new Stainless Steel Globe Valve, make sure it is the correct size, pressure rating, and material for the application. If the valve is flanged, align it with the pipeline and use new gaskets to ensure a tight seal. For threaded connections, ensure the threads are lubricated and properly aligned before screwing the valve in place. Once installed, securely tighten all bolts or connections.
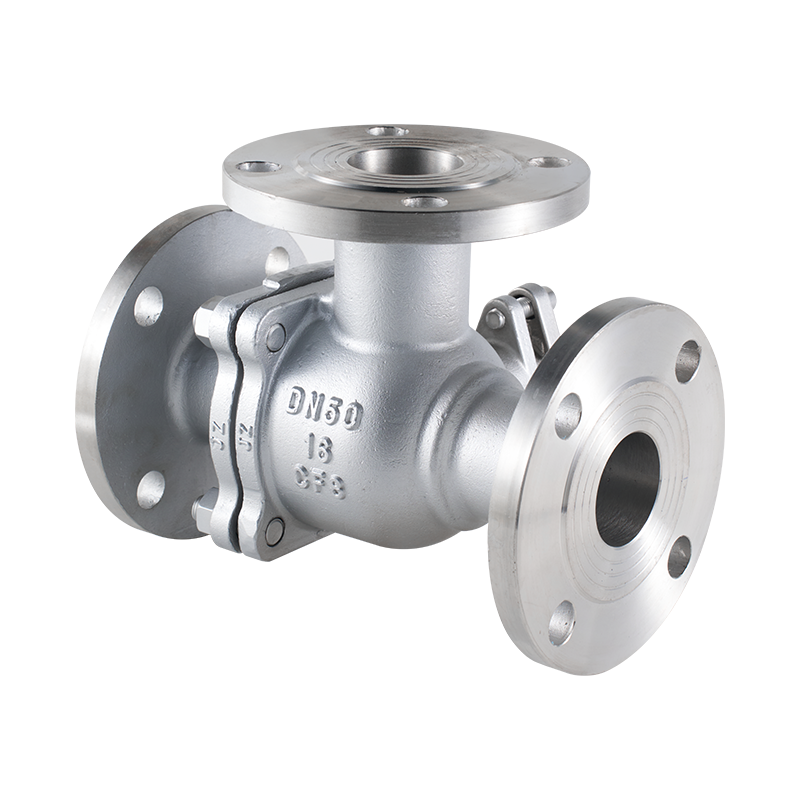
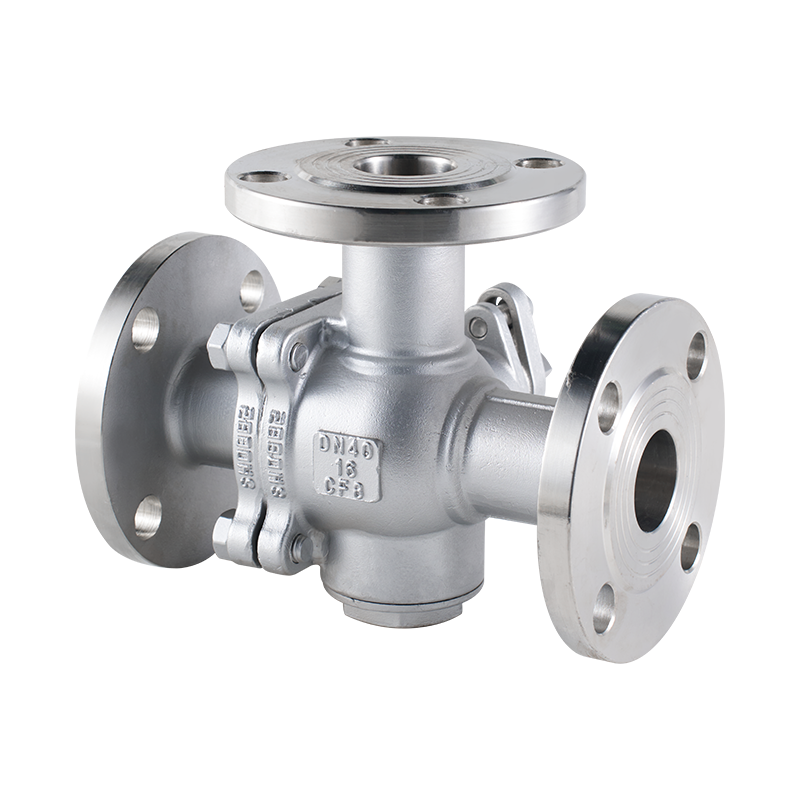
The Stainless Steel Ball Float Valve is an important component in systems that manage liquid levels, particularly in tanks and boilers. These valves use a float mechanism that adjusts the valve's position to control the flow of liquid. Given the critical role these valves play, performing a pressure test is necessary to ensure their reliability and safety.
Step 1: Prepare the System for Testing
Before beginning the pressure test on the Stainless Steel Ball Float Valve, it's essential to isolate the valve from the rest of the system. Ensure that the valve is in the closed position, and check that any fluid or gas lines connected to the valve are properly secured and not under pressure. You may need to isolate the valve using shut-off valves or blind flanges to prevent fluid from entering during the test.
Step 2: Set the Desired Test Pressure
Once the valve is isolated, determine the appropriate test pressure for the valve. Typically, this will be higher than the valve's normal operating pressure to ensure that it can withstand overpressure conditions. The Stainless Steel Ball Float Valve should be tested at a pressure rate specified by the manufacturer, usually between 1.5 to 2 times the normal operating pressure. Ensure that the pressure gauge used for testing is accurate and reliable.
Step 3: Perform the Test
Introduce pressure into the system slowly, ensuring that the Stainless Steel Ball Float Valve is subjected to the desired pressure. During this process, monitor the valve for any signs of leaks or malfunction. Pay close attention to the body, seals, and connections, as these areas are likely to show signs of weakness if the valve is underperforming.
Step 4: Inspect for Leaks and Defects
During the test, inspect the valve and its connections for any visible leaks. Common areas where leaks might occur include the valve seat, body connections, and the float mechanism itself. If any leaks are detected, it's important to address them immediately by either tightening the connections or replacing the faulty seals. In some cases, the valve may need to be replaced if it cannot withstand the test pressure without leakage.